Review: Digital Film Tools Photocopy plug-in

Introduction:
I admit that I am somewhat of a plug-in junkie when using Photoshop, Final Cut or other software. I guess it goes back to the early days of Photoshop and Kai’s Power Tools.
Over time Photoshop and other software has evolved and effects became easier to do but it does not mean a good plug-in does not have a place in the toolbox. A good plug-in can save you time and can even inspire you as you dial in various settings to see things you may not have seen before.
When I was told about Photocopy by Digital Film Tools I took a look at some examples they had posted at their site. It looked impressive. And fun.
The folks at Digital Film Tools went through well-known movies (94), paintings (72), photographs (40) and processes such as Cyanotype (30), analyzed them in terms of brightness, color, tone, detail, grain and texture and placed them into a plug-in which contains over 200 presets.
Even better, Photocopy can be used for stills or video. On the stills side, Photocopy works with Adobe Photoshop, Adobe Photoshop Elements, Adobe Photoshop, Lightroom and Apple Aperture (one photo license will run Photocopy with all of these on the same machine) and on the video side, Photocopy works with Adobe After Effects, Apple Final Cut Pro and Avid Editing Systems (a separate video license is needed for this).
The specific requirements are as follows:
- Adobe Photoshop CS3 and up.
- Adobe Photoshop Elements 6 and up.
- Photoshop Lightroom 3 and up.
Apple Aperture 3 and up.
After Effects CS3 and up.
- Final Cut Pro 6 and up.
Avid Symphony, Media Composer, Newscutter, Xpress Pro.
Macintosh Multicore Intel® processor.
Mac OSX 10.5.x - OSX 10.6.x.
Windows XP, Windows Vista, Windows 7.
I was sent two licenses, one for stills and and one for video. The installation was quick and easy: Download the package, click install, enter the key and that was pretty much it. The included manuals are easy to read and show you everything. The software, however, is so intuitive that I did not need the manuals to get up and running.
Photo Applications:
PhotoCopy is quick to launch and there is a short video below showing the process in real time.
The steps for photo applications:
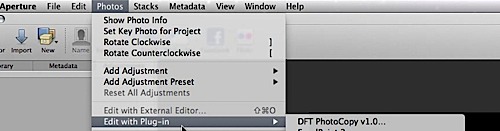
Select the photo you would like to work on.
Select Edit In PhotoCopy In Aperture:
In Lightroom:

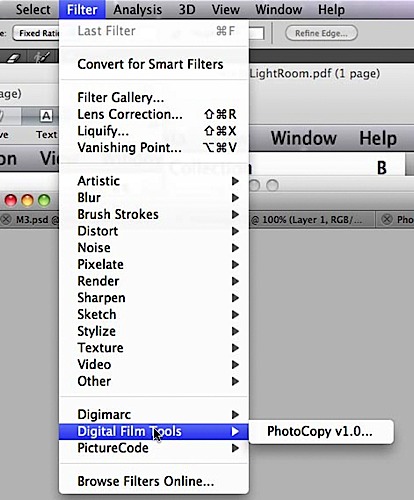
In Photoshop:
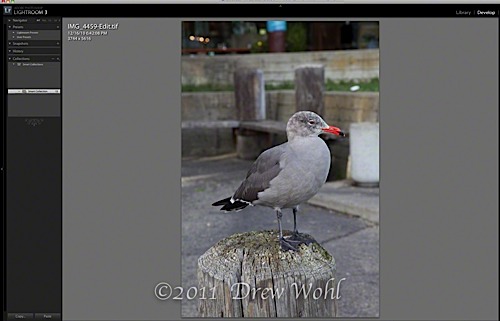
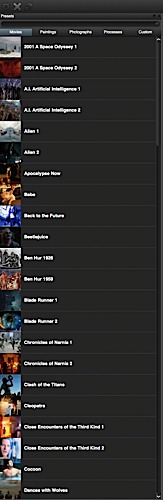
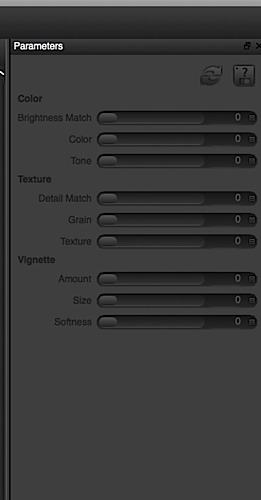
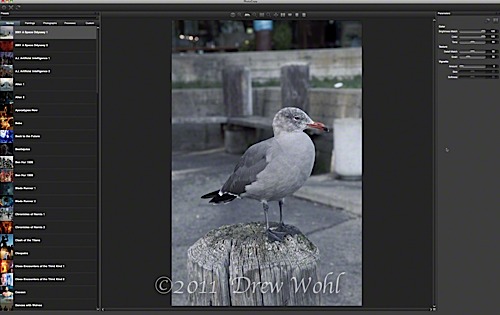
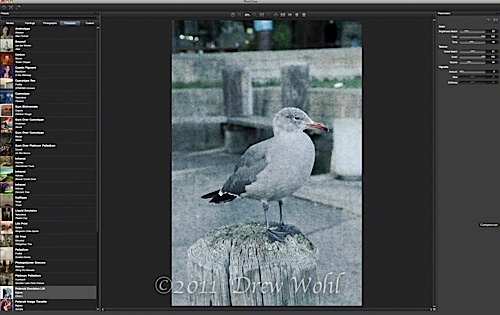
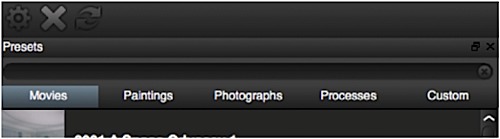
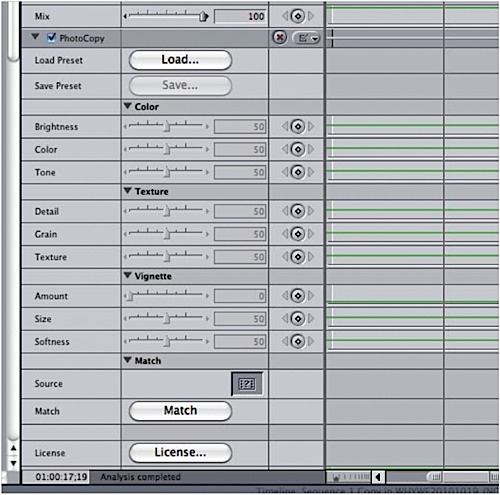
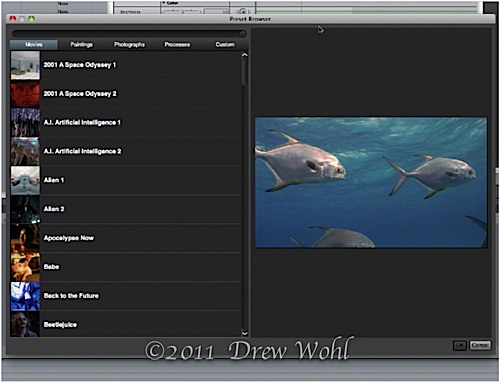
PhotoCopy launches and you will see the following screen. On the left hand side are all the presets, broken down by general category. To the right are parameter sliders to adjust the presets.

Left hand side presets:
Right hand side adjustment sliders
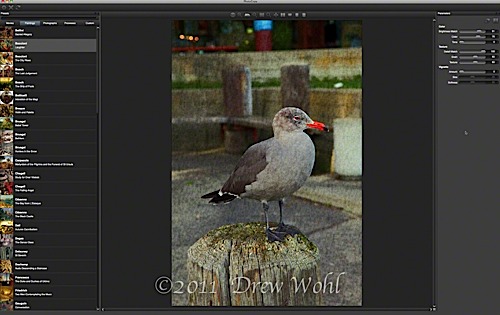
Pick a preset and adjust to taste and use the up and down arrows on the keyboard to scroll through presets to quickly see how an effect will generally look. Like any set of effects, one particular preset may not work well with a particular still and you can get a quick sense of which will work or not.
PhotoCopy was quick and responsive when scrolling through images from a Canon 5D Mark II on a 2 x 2.93 Ghz Quad-Core Mac. When adjusting the sliders there was a brief blurring of some part of the images (similar to when loading an image in Lightroom for example when it needs to build a preview) but it was quicker than Lightroom or Aperture by a good margin.
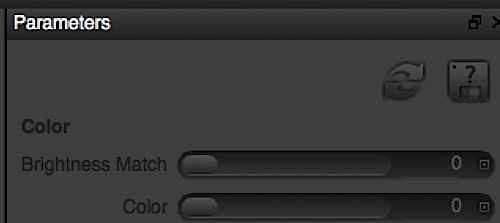
When you are done you have a few options: You can save whatever tweaks you made to the presets as your own customized preset by pressing the icon with the question mark located in the parameters section. These presets later show up in the custom tab. (Settings that I had saved in the photo applications were also available in the video applications.)
You can also save the image by pressing the gear icon above the presets. The image is processed, which is done fairly quickly, and the processed image is sent back to the photo application you are using and PhotoCopy closes.
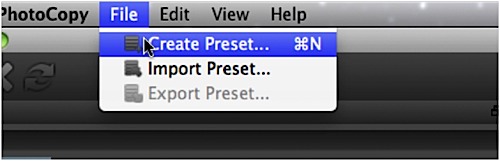
Another feature in PhotoCopy is making your own presets from scratch: In the PhotoCopy window select Create Preset
Then a split screen comes up. In the example below I used a section of the feathers to create a texture.
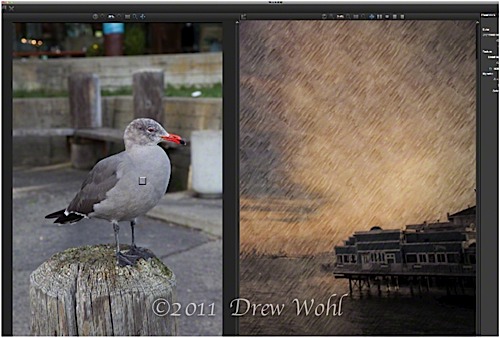
I created another one using a section of the wood

One thing to note is that I had crashes and hangs if I did not save the image and/or did not close out PhotoCopy prior to sending another image to PhotoCopy. I did not check the manual as to whether there was a mention of this as part of the workflow. It is a minor issue, and probably the only nitpick I have. Once figuring this part out, it was not a practical problem.
A couple of other things to note. First, duplicate layers in Photoshop and send a layer out to PhotoCopy. The original stays the same and the new layer will be the one processed. The second is that PhotoCopy does not work on RAW images. The images will be sent as Photoshop PSD or TIFF files and there are options with these for Color Space and Bit Depth.

The following video shows the entire process, including scrolling through presets, applying changes and sending the photo back to Lightroom. The video is playing in real time. It took just about two minutes to send a photo out, run through about 2 dozen presets or so, tweak the one I wanted a bit, process the image and have it back in Lightroom.
Video Applications:
Using PhotoCopy in After Effects and Final Cut is very similar to using it in photo applications.
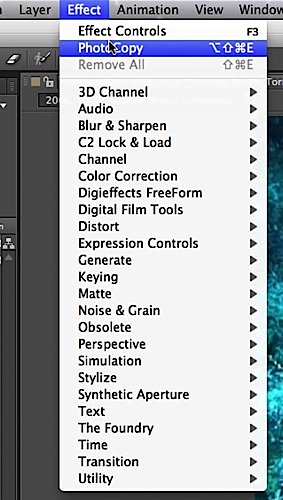
You apply the filter.
In After Effects:
In Final Cut:
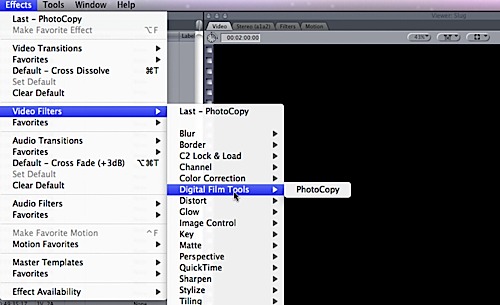
Which results in the filters showing up as follows:
In After Effects:
In Final Cut:
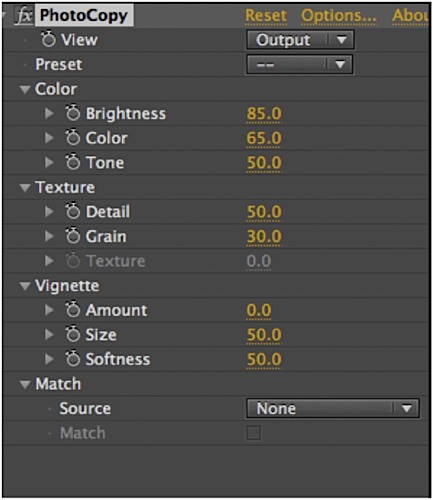
Selecting the preset drop down in After Effects or Load in Final Cut opens up a dialog to make the selection of a preset, while adjustments, and saving custom presets, are done in After Effects or Final Cut with the parameters shown above.
In After Effects the PhotoCopy filter did not slow down playback any more than what I normally find in After Effects and in Final Cut rendering was required.
Conclusion:
As mentioned earlier, not all of the presets will work well with every photo or video clip. But that is no different than any other set of plug-in effects. Some can produce banding in stills. Some of the presets may not be applicable at all to underwater photos or video. But I quickly found many favorites that I would use for photos and video. The ease and interface of PhotoCopy make it a pleasure to work with and ultimately it is a nice plug-in to have on hand.
Digital Film Tools offers fully functional versions PhotoCopy (15 day time limit), together with the manuals, on their site
It is worthwhile to try it out. Make sure to have an idea of which photos or video that you want to work with ahead of time so you can really put the software through the paces to see what it can do.